How Fast Do Red Wigglers Reproduce (You’ll Be Surprised!)

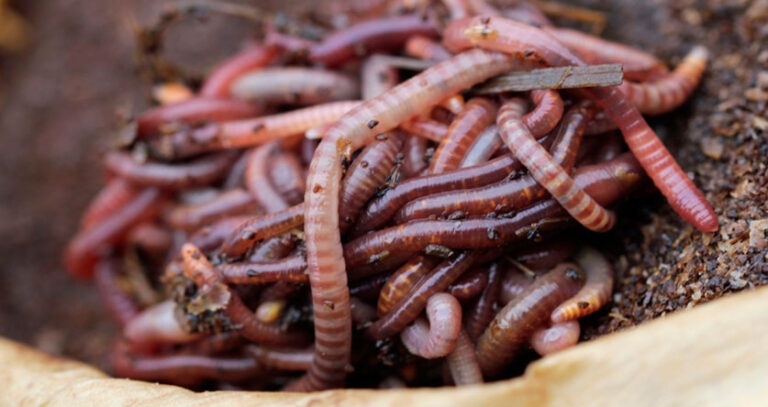
Red wigglers are composting dynamos – they gobble up at least half their weight in organic waste daily! But they’re lightweights (1 000 worms weigh only about a pound), so you’ll need lots of worms to make a dent in your bucketful of fruit and veggie scraps.
Perhaps you bought your first squirm of worms, hoping to make them multiply, and now you’re wondering how long you’ll need to wait for your worm community to grow.
Keep scrolling to discover how quickly red wigglers reproduce and how to help them breed faster.
How Fast Do Red Wiggler Worms Reproduce?
Red wiggler populations typically double every 3 to 6 months. However, when conditions are right, these worms can multiply faster. Records show 8 worms can reproduce into 1 500 in 6 months. Ideal conditions include a moist environment, a temperature range of 60 to 80°F, neutral pH, and plenty of food.
Take good care of your red wigglers, and your collection of wriggly friends will grow before your eyes!
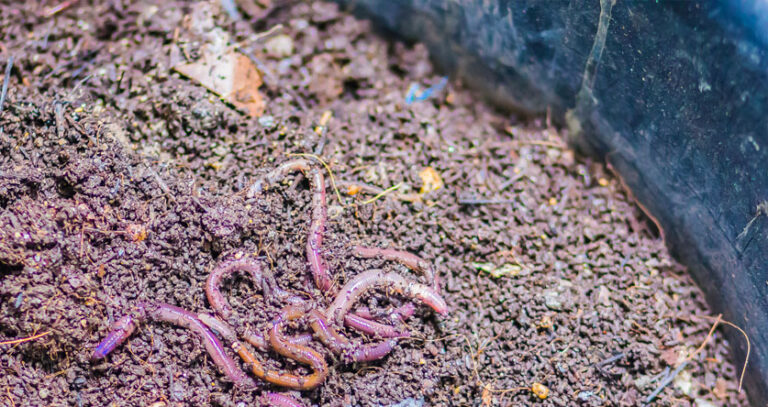
Wigglers start reproducing when they’re about 30 to 60 days old. They find mates and make cocoons containing up to 20 eggs. After at least 3 weeks (or several months under bad conditions), 2 to 5 baby worms pop out of each cocoon. A month or 2 later, these new worms get in on the reproduction action.
Each adult red wiggler produces around 100 cocoons a year. Up to 5 worms emerge from each cocoon – so a single worm can make 500 worms in a year!
Learn more about red wigglers’ life cycle.
How Often Do Red Wigglers Reproduce?
When life is good for red wigglers, each adult worm can produce 2 to 4 cocoons a week.
Wigglers reproduce throughout the year. As long as they have everything they need to be healthy and happy, they’ll keep pushing out cocoons!
All wigglers produce cocoons. What makes this possible is that one worm has both male and female reproductive organs. Still, it takes 2 worms to make a cocoon.
How Do You Encourage Red Wiggler Worms To Breed?
The more comfortable you make life for your wigglers, the more they’ll breed and the faster new baby worms will hatch (so they can grow up and boost the breeding team). And just like that, you’ll have enough worms to eat through your organic kitchen waste!
Good to know: For every pound of kitchen scraps you make a day, you’ll need 2 pounds of worms.
Here’s your 5-step plan for creating the ultimate breeding conditions for your red wigglers:
Step #1: Watch The Temperature
Red wigglers will reproduce at temperatures between 55 and 85°F, but a range between 60 and 80°F will maximize their breeding potential.
You can use heating systems to raise or fans to drop temperatures to stay within the ideal range.
Step #2: Keep Bedding Moist
Worms are roughly 75 to 90% water. Therefore, they need a moist environment to help them breathe (they breathe through their skin), eat, and break down their food.
Aim to make the moisture level of the top 4 inches of your worms’ bedding between 60 to 85%.
One way to get the moisture level right is to add water to the bedding until it’s got that wrung-out-sponge feeling when you squeeze it.
Don’t add too much water, though. Soggy bedding can kill worms.
The best bedding materials hold moisture while staying loose. Top options include non-colored, non-glossy shredded paper and cardboard, straw, and dried leaves and grass.
Turn the top few inches of bedding every week or 2 to keep it loose, and add new bedding when it’s looking sparse (first harvest the compost your worms have made).
Step #3: Check The pH
Worms will do okay in pH levels ranging from 6 to 8, but they thrive when the level is slap bang in the middle, a neutral 7.
A vinegar smell is a sign that the pH might be out. Check the level using a pH test strip, and add crushed eggshells or granulated limestone if it’s lower than 6.
Step #4: Feed Worms Well
Help your worms multiply at lightning speed by feeding them right.
Food scraps that should go down well include non-citrus fruit peels, melon rinds, carrot, cucumber, lettuce, squash, bread, unsweetened cereal, plain pasta, teabags, and coffee grounds. But keep onions, potatoes, citrus fruits, dairy, fats, and meat off the menu.
If you’re unsure whether your worms will enjoy a specific food, put a handful of taster worms into a container with the new food. Then watch what the worms do over the next day. Suppose the worms devour the food. Super, it’ll likely be a hit with the rest of the wigglers too. However, if the worms crawl away from the food or die (gasp!), consider it a no-no.
Once you know what your worms like eating, keep it coming! You’ll know it’s time to serve more food when your worms have worked their way through their first helping. But don’t be too generous – if the food goes bad before the worms have eaten it, you should give them less next time.
Step #5: Keep Pests Out
Wigglers have several insect and animal enemies. These pests eat the worms or their food, making them disappear instead of multiply.
These are the 3 most common threats:
- Threat #1: Mites. Mites feast on the worms’ food. When the number of mites gets too high, worms burrow into the deeper layers of bedding and stop eating. You can keep mites under control by not overfeeding your worms or overwatering their bedding.
- Threat #2: Springtails. Like mites, springtails steal worms’ food and chase them deep into their bedding. You can avoid a springtail infestation by keeping bedding moist, not soggy, and not giving your worms too much food.
- Threat #3: Ants. Yet another scavenger, ants also take worms’ nourishment, slowing down their reproduction. Ants are most likely to take over worm bins with dry bedding (another reason to keep your worms’ bedding moist!). Getting rid of ants can be tricky, so stop them in their tracks by placing the worm bin’s legs into cans filled with water or mineral oil.
Conclusion
Red wigglers are speedy breeders! Keep their homes at the right temperature, pH, and moisture level; feed them a steady supply of organic wastes (but not too much in one go); and scare away food-stealing pests like ants, springtails, and mites; and your worm colony will multiply until you have enough to eat your fruit and veggie scraps (and extras to share with non-squeamish friends!).