Disadvantages Of Worm Castings (Read This First!)
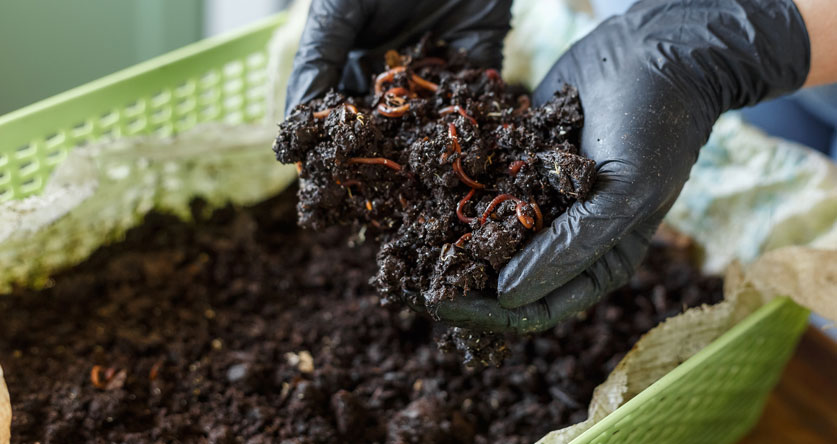
You’ve likely heard fantastic things about worm composting. And for a good reason. This composting method has some major perks.
But there are also downsides you must know before starting a worm bin.
I don’t want to crush your dreams of a thriving compost-making worm community. I just want you to know what to do if things go wrong.
So, see this article as a beginner’s guide to worm composting problems – and how to fix them!
What Are The Disadvantages Of Worm Castings?
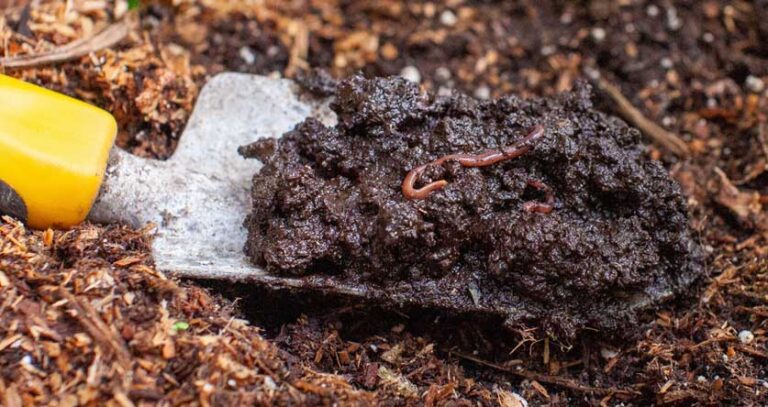
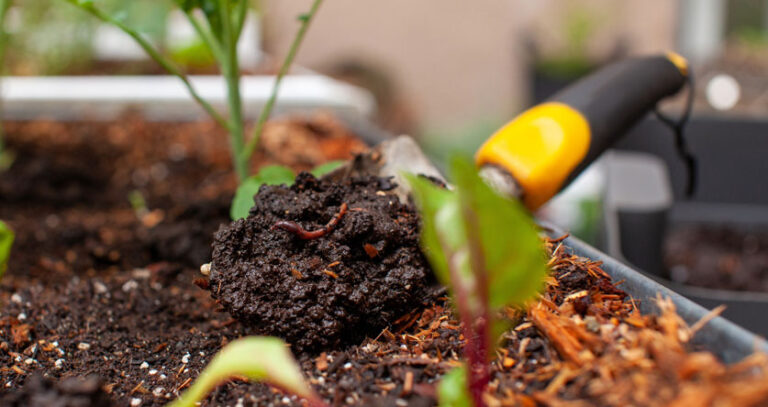
The drawbacks of worm castings are that they take several months to produce, are challenging to harvest, and might contain pathogens and weed seeds. The downside of castings you buy is that they are more expensive than regular store-bought compost or homemade vermicompost.
Let’s take a closer look at these disadvantages:
- They take months to produce. Worm castings take at least 3 months to produce. In contrast, the speediest hot composting methods can make compost in 3 weeks (and probably in larger quantities).
- They’re tricky to harvest. You must carefully separate the castings and worms without harming the worms. This can be a time-consuming, fussy job.
- They might contain harmful bacteria and weed seeds. Worm composting doesn’t get hot enough to kill harmful bacteria and weed seeds.
- They’re expensive to buy. Ready-made worm castings tend to be pricier than ready-made regular compost.
These are some of the main constraints of the end-product of worm composting. But you also need to consider the potential problems with the process…
What Are The Disadvantages Of Vermicomposting?
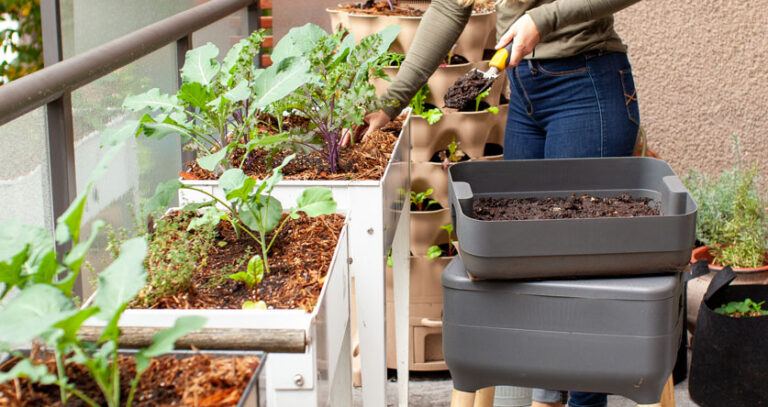
Building a worm farm these days is very easy. But the process does come with a few inconveniences. These are some of the main disadvantages you might face when you start worm composting:
#1: Vermicomposting Needs Maintenance
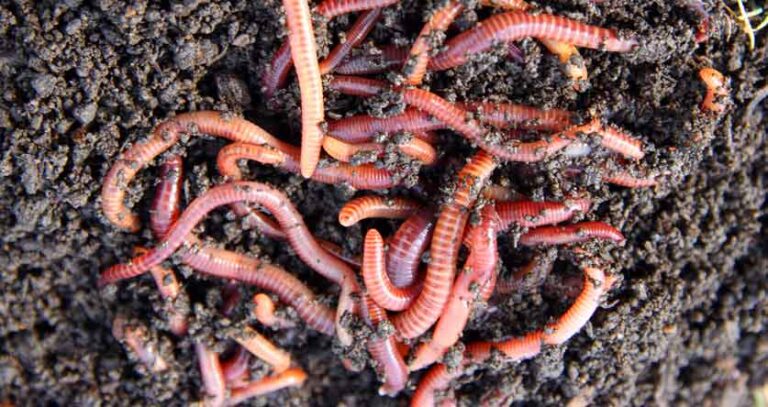
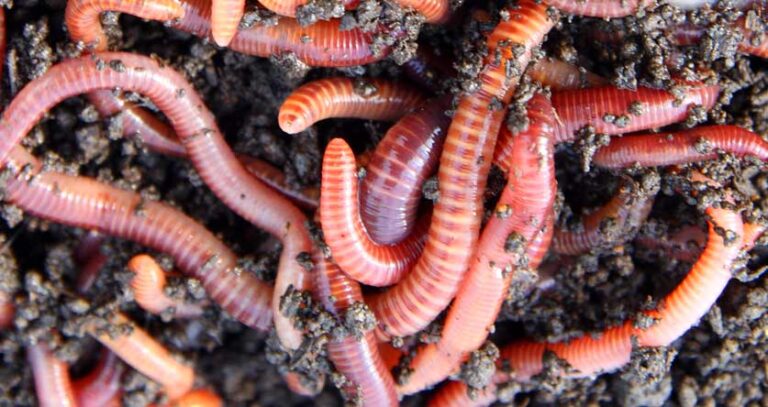
For a smoothly running worm bin, you must keep your workers (your worms, of course) happy and healthy.
Your worms need a comfortable home with plenty of moist bedding, enough food, a neutral pH, and a temperature close to 60 to 80°F. And it’s up to you to ensure they get everything they need!
Here’s a basic checklist for taking good care of your worms:
- Keep bedding well-stocked and as moist as a wrung-out sponge. Plus, turn it regularly to keep the air flowing.
- Feed just enough of the right foods. Add about half the worms’ weight in food at a time. So, 1/2 a pound for every pound of worms.
- Harvest castings every few months to stop them from spoiling the bin environment.
#2: Vermicomposting Can Stink
Skipping basic worm care can create a bad smell.
These are the main factors that can cause a stink:
- Too much food. If food is sticking around and rotting, you’re feeding your worms too much. Remove the leftovers, downsize portions, and only add more food once everything’s been eaten.
- The wrong foods. Avoid feeding your worms foods that smell terrible while decomposing, like meat, chicken, fish, dairy, fats, oils, broccoli, onion, and garlic.
- Lacking air. Turn the bedding now and then to maintain good ventilation.
- Bedding that’s too wet. Soak up the excess moisture with fresh, dry bedding. Watch that you don’t add too many juicy food scraps.
- A pH that’s too acidic. Use a pH strip to check the level. If it’s less than 6, add some neutralizing crushed washed egg shells to the bin.
#3: Vermicomposting Can Attract Pests
Worm bins can entice pesky insects, like fruit flies and ants, into your home.
Try this trick to keep fruit flies away: put a small jar filled with vinegar in the corner of the bin. The flies should go straight toward the vinegar, fall in, and drown.
And here’s an anti-ant hack: place the legs of your worm bin into cans of water or mineral oil. This effectively blocks the path of the ants.
#4: Vermicomposting Can’t Break Down Lots Of Garden Waste
Worm bins are perfect for turning kitchen scraps into compost, but they won’t work for composting large amounts of garden waste. Nevertheless, your worms will happily munch a handful of shredded dried leaves with their fruit and veggie scraps!
Advantages Of Worm Castings
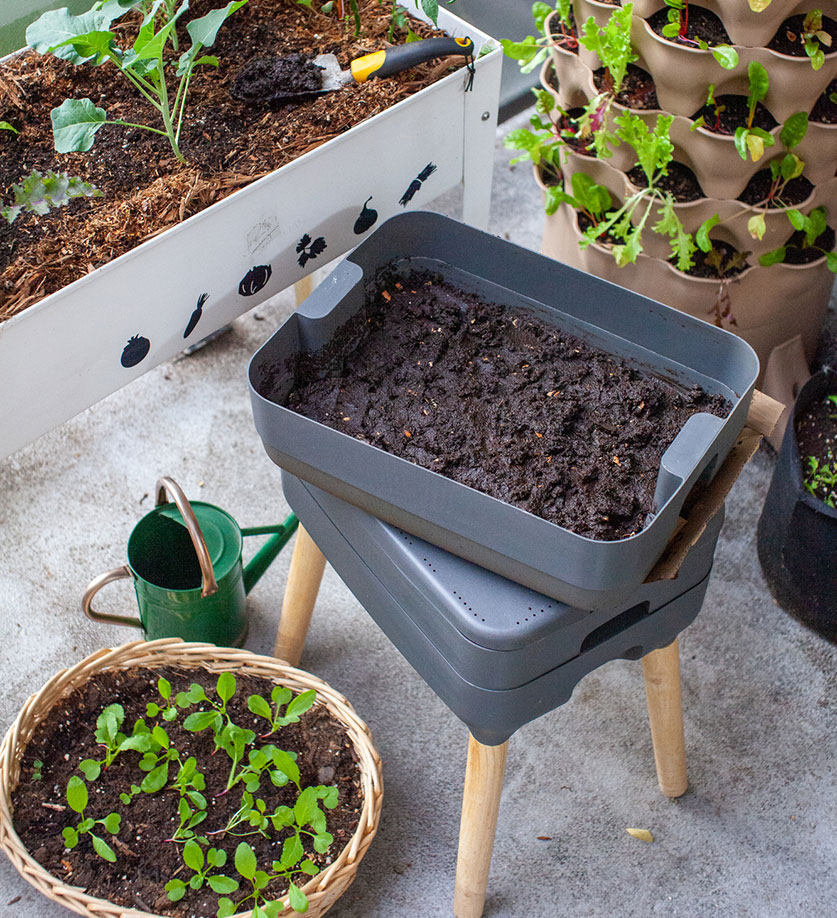
Vermicomposting is a neat process. First, worms use our household waste as fuel, and then we use their waste to grow healthy plants. Win-win! And wastes are kept out of landfills – a win for the planet, too!
Here are some of the most significant advantages of vermicomposting and worm castings:
- Vermicomposting is the best composting method for apartment living.
- Worm castings contain nutrients like nitrogen, phosphorus, potassium, calcium, and magnesium, which benefit plant growth.
- Worm castings add helpful bacteria and fungi to the soil.
- Vermicompost gives plants fast-release nutrients to perk them up quickly.
- Worm castings are high in humus to help keep soil beautifully moist and airy (just as plants like it!).
- Castings can help plants fight off pests.
- Vermicompost can contain plant growth regulators to boost plant growth.
FAQ
If you’re considering getting into worm farming, it’s natural to have questions. Wondering how worm castings compare to regular compost? Whether you can overdo the castings or if castings stink (they are worm poop, after all!). Let’s find out…
Can You Use Too Much Worm Castings?
Worm castings are rich in nutrients, so a little goes a long way.
You only need a layer 1/2 an inch thick around your plants or 1 part castings to 3 parts mature regular compost to grow seedlings.
Using more won’t only be a waste. Still, it can be bad for the environment, as excess nutrients will leach into the groundwater.
Are Worm Castings Better Than Compost?
While worm castings might outshine regular compost in some areas, they are both valuable soil supplements that give gardens lots of goodness.
| Worm Castings | Regular Compost | |
|---|---|---|
| Nutrient Content | Higher in nitrogen and calcium | Lower in nitrogen and calcium |
| Nutrient-Release Rate | Fast release for a quick pep-up | Slow release for long-term feeding |
| Texture | Extremely fine and crumbly | Fine and crumbly |
| Water-Holding Capacity | Can hold more than 200% of its dry weight in water | Holds up to 200% of its dry weight in water |
| pH | Slightly alkaline | Starts acidic and becomes neutral as it matures |
| Smell | Fresh and earthy | Fresh and earthy |
| Time To Produce | 3 to 6 months | 3 weeks to 3 months (hot composting) |
| Top Benefit | Recycles kitchen scraps even in small indoor spaces | Recycles large volumes of garden waste in outdoor spaces |
For a more detailed comparison of these two substances, read my article “worm casting versus compost.”
Do Worm Castings Smell?
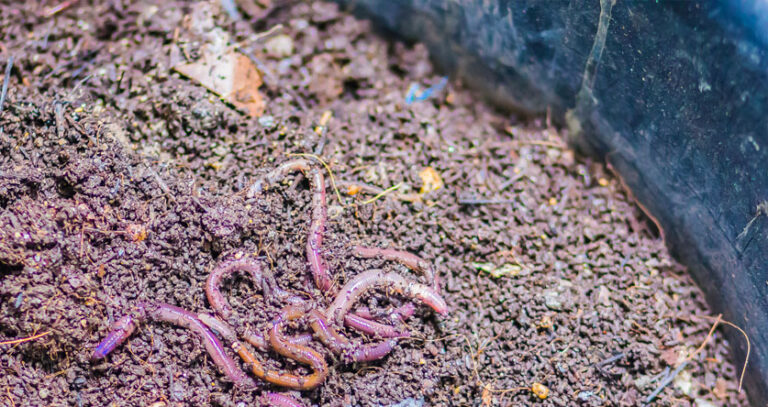
Finished worm castings do have a smell, but luckily it’s not a nasty one. Instead, they smell earthy, like mature compost.
The process itself might begin to smell bad if the worm farm isn’t being cared for properly. (See above for tips on how to fix smelly worm compost)
Conclusion
When you think about it, vermicomposting’s disadvantages are minor. Give your worm team some attention from time to time. You can successfully recycle your kitchen scraps and produce a beneficial soil supplement!
I believe there are only 2 good reasons to be put off worm composting: 1) if you want to compost big loads of garden waste, and 2) if the thought of thousands of squirmy wormies makes your skin crawl 🙂
