Life Cycle Of A Red Wiggler Worm (Surprising Facts!)
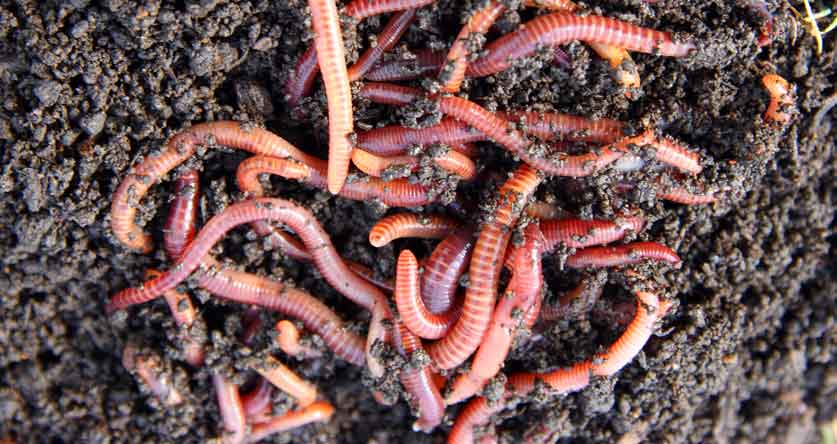
More and more people are opening their homes to thousands of worms. Compost-making red wigglers, that is!
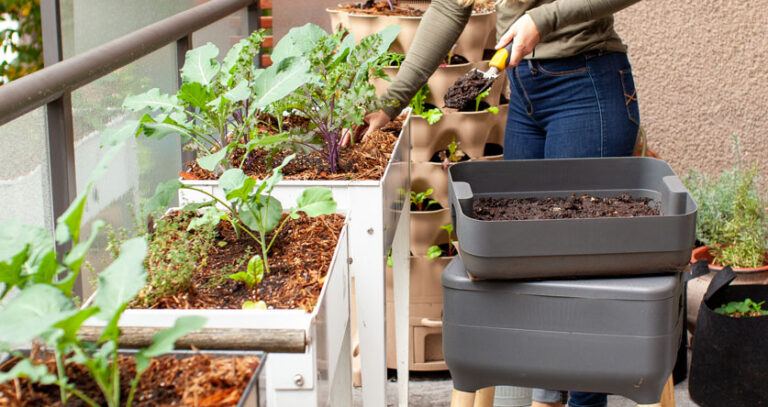
These worms bring the huge perk of being an apartment-friendly system for quickly breaking down kitchen waste – still, you’d like to know more about them before you let them in your front door.
Okay, let’s explore the life of a wriggler!
Are they waste-munchers from birth, or do they go through transformative stages to become the composting heroes we know?
Coming up: The ages and stages of the increasingly popular red wiggler!
Red Wiggler Life Cycle
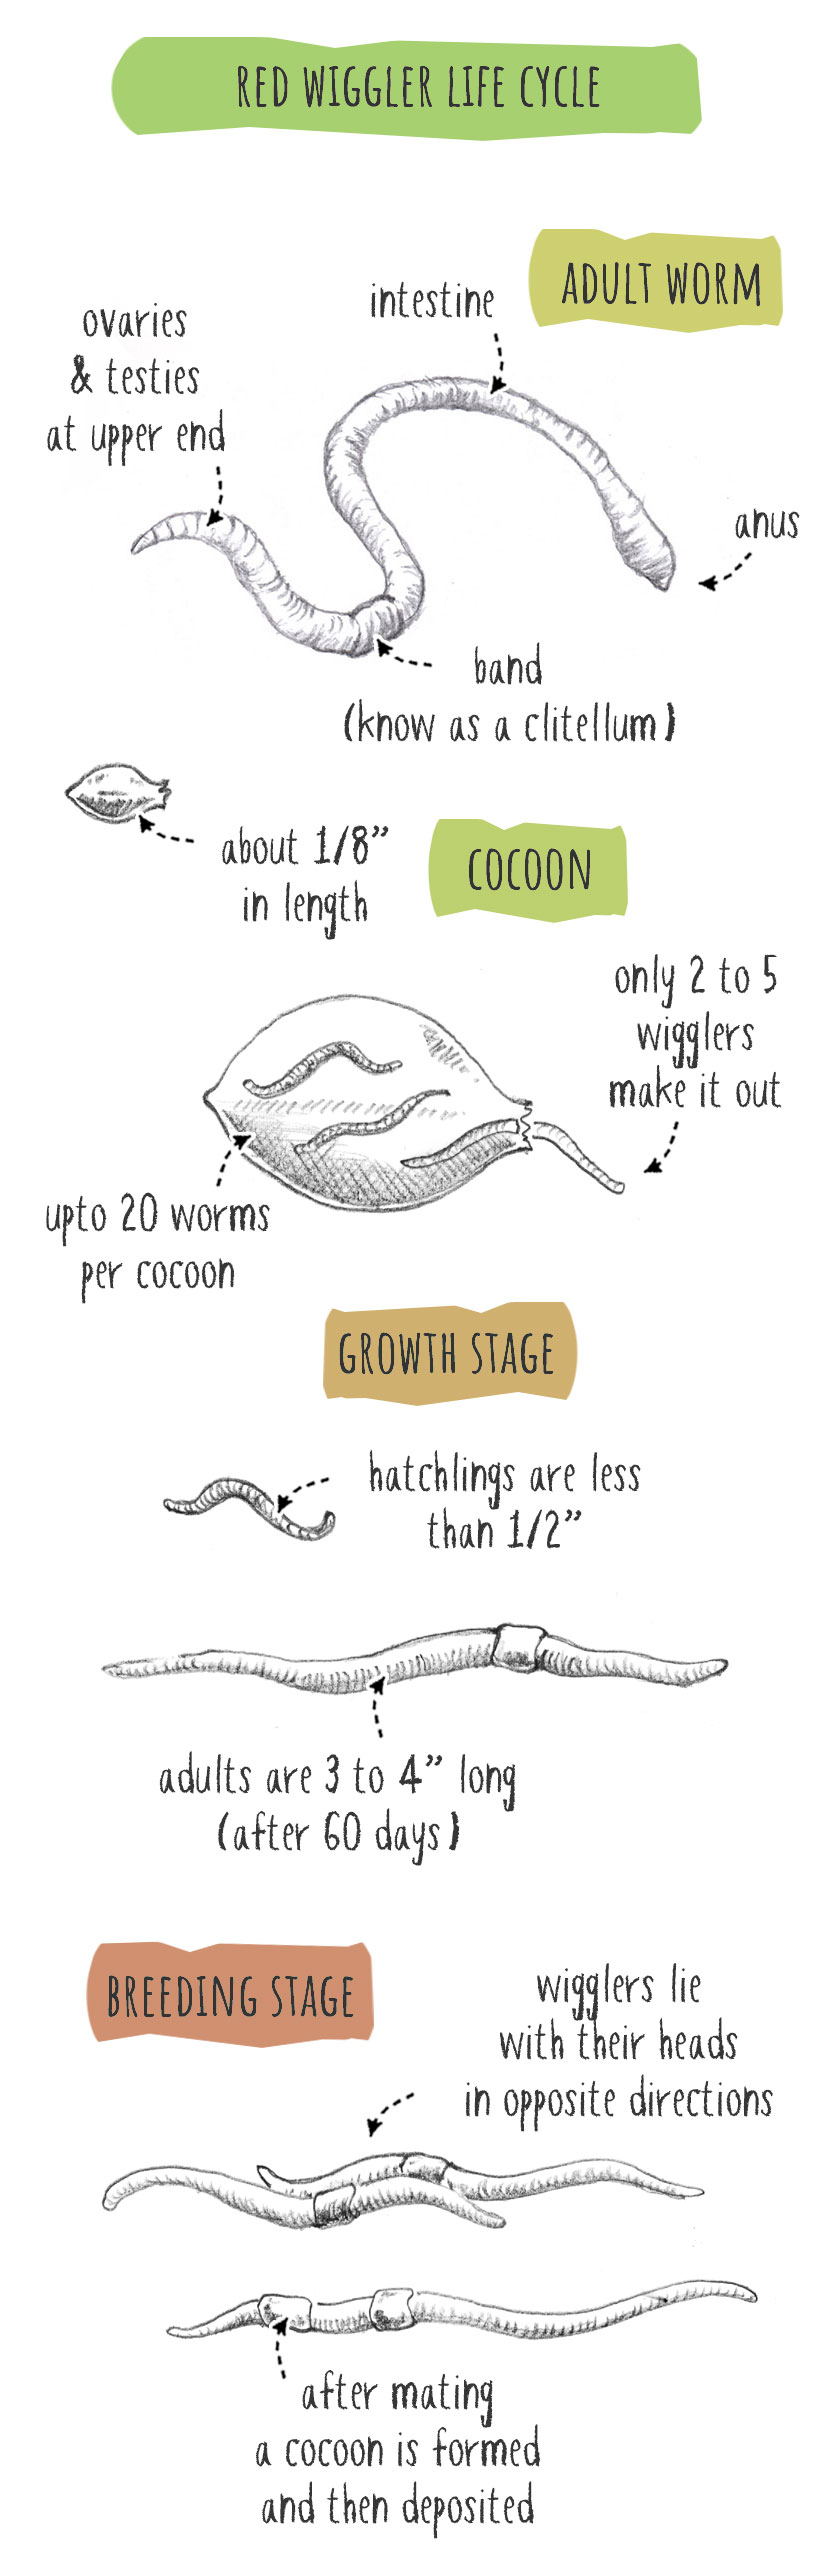
Red wiggler worms are born in eggs inside cocoons. After about 3 weeks, the worms hatch from the eggs and start growing. Under favorable conditions, red wigglers reach sexual maturity within roughly 60 days of hatching. The worms generally live between 1 and 5 years.
Although red wigglers (scientific name: Eisenia fetida)are famous for being big eaters (they’re often called a tube with a gut!), they also get up to other things during the cocoon, growing, and breeding stages of their life cycle.
Here’s what happens to a red wiggler during its 3 different life stages.
#1: Cocoon Stage
A red wiggler’s life begins in an egg protected by a cocoon. Every cocoon has as many as 20 eggs, but only 2 to 5 wrigglers make it out.
The cocoons look like teeny lemons, deepening in color from white to yellow to brown as the worms develop inside. When the cocoons turn reddish brown, the worms are ready to hatch! You can now see the worms through the cocoon wall (with a magnifying glass).
The environment influences how quickly the worms develop and break through their cocoon. They generally hatch after 3 weeks when the temperature, moisture level, and pH are spot-on.
#2: Growing Stage
Hatchlings are shorter than half an inch, lighter than a Rice Krispie grain, and about as thick as a few of our hairs.
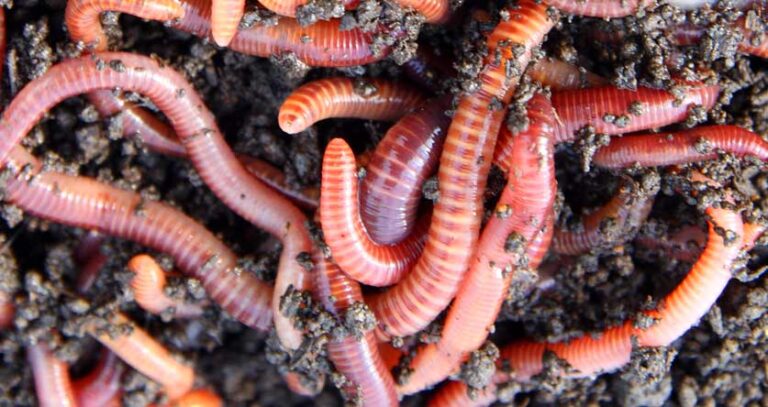
They’re whitish for the first few days, with blood vessels showing through their skin, but they soon develop their characteristic reddish brown color.
Red wigglers have a healthy appetite from birth, and when they’ve got plenty to eat, they grow well, reaching adult size about 60 days after hatching.
Adult red wigglers can stretch out to about 3 to 4 inches long. They have banding between their segments, giving them a stripey look.
#3: Breeding Stage
When red wigglers develop a swollen band about a third down their body from their head, it’s time to start reproducing!
This swollen portion is called the clitellum and holds both male and female reproductive organs. Yep, red wigglers are hermaphrodites.
These worms don’t use their double reproductive organs for self-fertilization but to maximize reproduction. They find a mate, join together (facing opposite directions), do their thing, and afterward, both worms produce a cocoon.
Red wigglers reproduce quickly, each worm making 2 to 4 cocoons weekly. Incredibly, they can double their population in 3 to 6 months!
Red wigglers can grow bigger after sexual maturity but don’t get more segments.
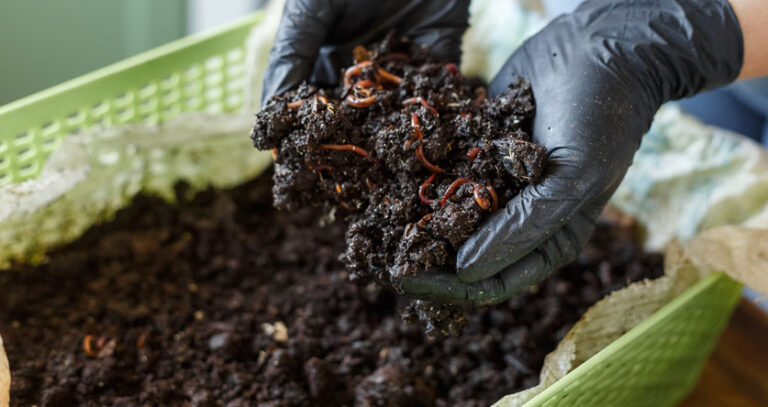
Overall red wigglers (Eisenia fetida) have been found to have a high reproductive ability and are very suitable for decomposing waste.
How Long Do Red Wigglers Take To Mature?
It takes about 3 months for red wigglers to go from cocoon to mature worms:
- 3 weeks for developing inside their cocoons.
- 8 weeks for growing bodies that can reproduce.
Though, various factors can mess with this timeframe.
Suppose the temperature around the cocoons is too hot or cold. The worms will need more time to develop. What if the developing worms don’t get enough food? They’ll take longer to reach sexual maturity.
How Long Do Red Wigglers Live?
Red wigglers with cushy lives (you know, with you there to give them everything they need) can live 4 to 5 healthy years.
On the flip side, wigglers left to fend for themselves among enemies like birds, small animals, and insects in bad weather and dry environments usually don’t make it beyond a year.
If you’re wondering how you’ll remove the dead bodies (with or without a worm funeral, depending on how attached you get to the wrigglers), know this: you might not even notice when your worms die. Worms are 75 to 90% water, making them decompose super quickly.
If you find lots of dead worms, something’s gone wrong.
These are the 4 top worm-killing mistakes beginners make:
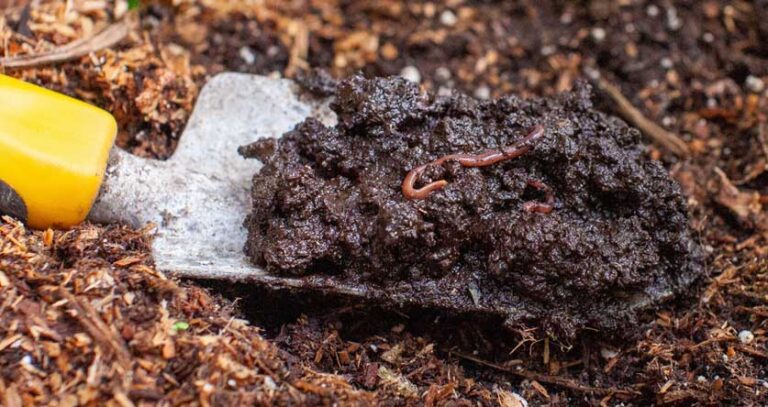
- Mistake #1: Letting the bin get too hot. Aim to keep the temperature within the range of 60 to 80°F. You can use a fan to bring down the temperature or put the bin somewhere cool, away from direct sunlight. Another tip is to monitor that bedding stays as moist as a wrung-out sponge – sprinkle cool water on the bedding when the sun is strongest to beat the heat.
- Mistake #2: Forgetting to top up bedding. Keep your eye on your worms’ bedding and restock when it’s gone (collect your worm compost first!).
- Mistake #3: Not feeding your worms enough. Give your worms a good helping of fruit and veg scraps and tea bags!
- Mistake #4: Feeding your worms the wrong food. Salty or acidic food isn’t good for worms. So, keep salty scraps off the menu and limit or avoid dumping citrus pulp and other acidic fruits into your bin. Safe options include most fruit and veggie scraps (like lettuce, carrots, and melon rinds), coffee grounds, shredded non-gloss, non-color paper, egg cartons, and dry leaves.
Conclusion
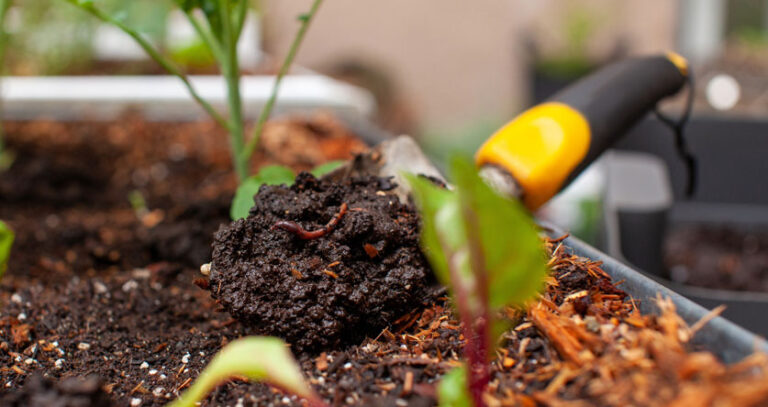
Red wigglers experience 3 main life stages: cocooning, growing, and breeding. Eating is also a huge part of their life – which is good, seeing as that’s what you want them for!
Being well-nourished and living in a comfortable environment helps wigglers develop smoothly from minuscule hatchlings to fast-reproducing mighty munchers!
Now that you know more about what life is like for red wigglers, perhaps you’re considering keeping them as pets and not just composters. If you give them TLC, they’ll regularly gift you soil-enriching compost rounds for up to 5 years!
I am interested in Vermicompost, is the second time I try the firstime I used Tote Bins, worms from Uncle Jim, Coco Coir and dry banana leaves for beding , aftera while they try to scape and the chickens got them.
Know I purchased the Vermihuttt , worms and cocoons from Turner’s worm.
Is there a recomendation to Pre Prepare the bin before I put them, please advice.
Thanks for your time in this matter
Mr Sanoguet
Hi
Try this: start by getting your bedding ready. Use moistened Coco Coir just like last time, maybe mix in some shredded newspaper – aim for a wrung-out sponge feel. Let the bedding sit for a day to get comfy. Then, gently introduce your worms and cocoons. Give them a bit to settle in and make sure you’ve give them some kitchen scraps to munch on 🙂