Underground Compost Bin (EASY!)
Do you want to know about underground compost bins, but you’re unsure where to begin?
There are lots of subtleties to using this kind of subterranean system. And if you get it wrong, it could lead to problems further down the line!
But what if you could set up an in-ground compost bin in just a few easy steps?
And once installed, making nutrient-rich compost is effortless and straightforward.
In this article, I’ll show you exactly how to build and use an in-ground bin the right way…
What is an Underground Compost Bin
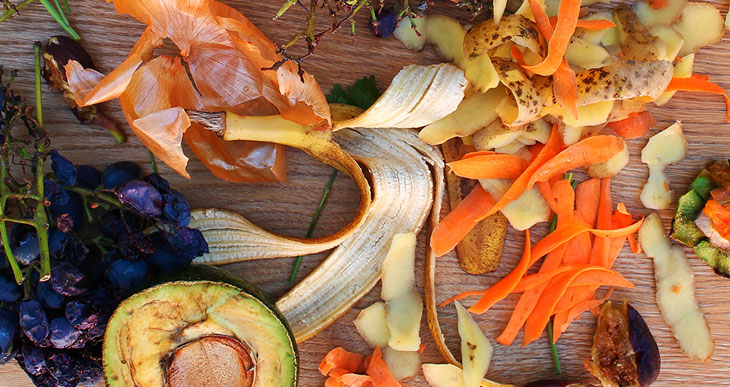
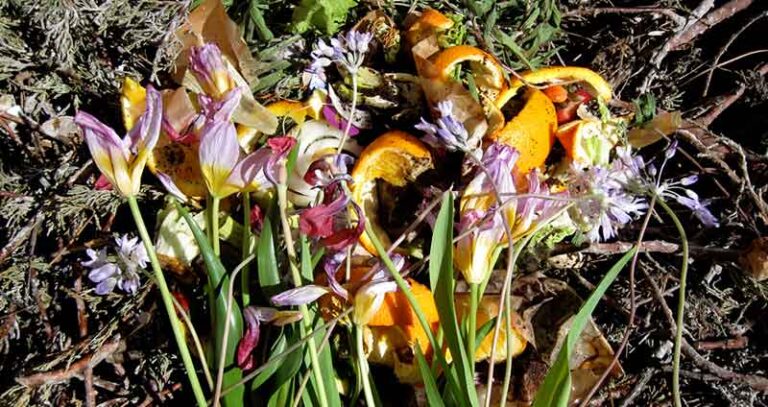
Underground compost bins are designed to be partially buried in your garden soil. They are generally small to medium-sized and are particularly well adapted to composting kitchen waste.
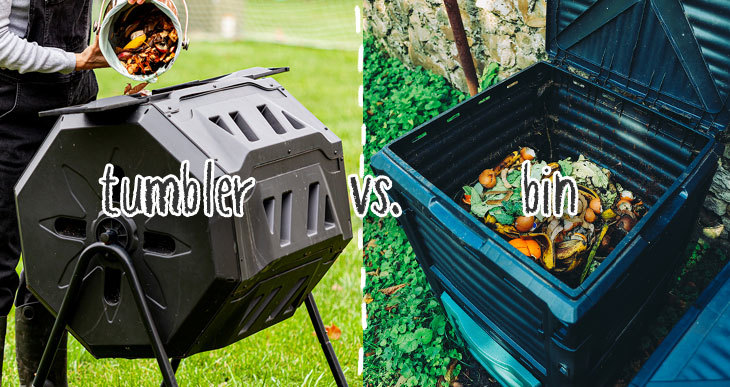
This unique composting method differs from traditional “above ground” compost bins that just sit around on top of the soil. And by submerging the container, this system creates a more favorable composting environment than conventional bin types.
The original idea for this “in-ground” bin dates back to 1976. It was introduced in the Mother Earth News magazine September edition. It was devised as a way to keep pests away from rotting food in a compost pile.
Keep in mind that because you have to dig a hole, this somewhat limits the size of these units. Burying a huge bin would be far too much work. Also, deep containers make it challenging to harvest the compost when finished.
You’re better off having more than one underground bin than one huge one.
But a small to a medium-sized unit is relatively easy to submerge. Something like a 30-gallon garbage can, an old drum, or a barrel is ideal.
They can be made of metal or plastic, but if you choose a recycled barrel, make sure it is a food-grade drum and not something used for toxic substances.
How do in-ground compost bins work?
Unlike standard bins, these containers have holes in the bottom and sides, up to the height they will be buried. The holes allow for drainage and give free passage to worms and other beneficial insects. In addition, the surrounding earth acts as insulation, retaining the heat generated by decomposing waste. And the subterranean bin also holds moisture.
All of these factors set up a habitat where composting microbes can thrive! And decomposition is generally faster than in a traditional bin.
The ideal setup is to use two bins side by side. Then, after a few months, when the first bin is filled with kitchen scraps, you can leave the compost to mature while continuing to fill up the second container. By the time that is full, the first bin will have rich dark compost ready to use in your yard.
Underground bins are very simple to maintain. However, they can become anaerobic more quickly than “above ground” alternatives. Anaerobic (without oxygen) decomposition will slow down the composting process and can result in unpleasant odors. But this difficulty can be easily remedied by setting up the bin correctly, using the right ingredients, and turning the compost from time to time to introduce oxygen.
A few commercial models are available, but you can also easily convert an existing container into a perfect buried compost system.
Below I’ll explain how to build your own bin. But first, there are two subtly different styles of underground composters you should be aware of:
- In-ground bins
- Underground worm bins
The in Ground compost bin
This is a classic semi-buried composter. These are intended to be stand-alone systems that you feed with all kinds of organic waste, but mostly kitchen scraps.
The maturing compost attracts earthworms from the surrounding soil, but you do not need to add extra worms.
An underground worm compost bin
These bins are designed to receive added worms such as red wigglers. Underground worm farms are made using a wide but relatively shallow container. Composting worms need a decent surface area to do their work, so a narrow floor surface isn’t suitable.
These bins work by creating worm castings inside the container, which can be collected for use elsewhere.
But these designs can also bring additional benefits if you submerge them directly in a raised bed or in your garden beds. The worms migrate into the surrounding soil, creating openings and leaving nutrient-rich castings. This increases fertility and enhances plant growth for surrounding plants.
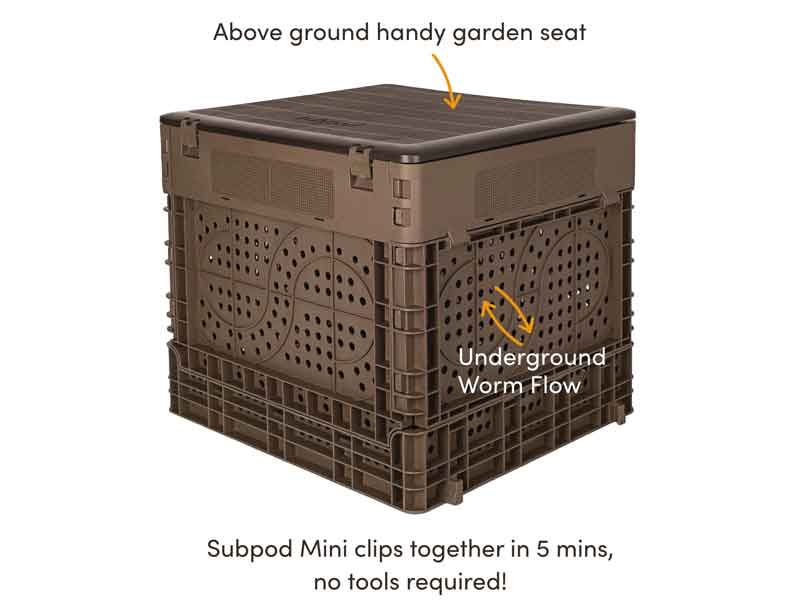
The Subpod mini is a modern version of this system that uses the power of worms to break down waste quicker. As a result, you generally get a finished product in as little as 2 months!
Learn more about the subpod mini here…
Advantages of Underground Compost Bins
There are multiple benefits to using an underground composter.
- Utilizes helpful microbes and worms.
- Higher temperature composting.
- Good moisture retention.
- Helps keep pests away.
- Faster finished compost.
- Fewer odors
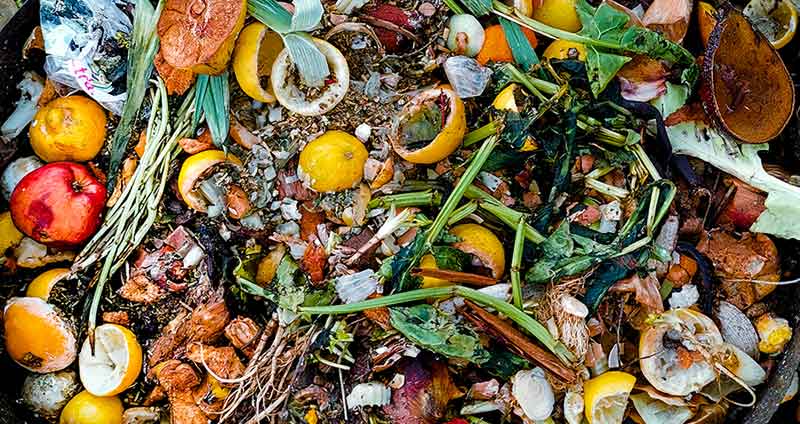
Rotting food in a compost pile can attract all kinds of vermin and fruit flies. Having a good lid on top of your bin prevents these critters from getting access. And the buried waste will emit fewer smells, especially if you mix in some dry material such as shredded leaves or cardboard.
DIY in ground compost bin
It’s easy to make an in-ground compost bin with few tools and a simple container like a trash can or food-grade barrel. A galvanized metal or plastic container both work well. To build your underground bin, you’ll need the following:
- A container with a lid
- A drill
- Drill bit (minimum ¼ inch)
- A shovel
- Gloves for protection
How to Make an underground Compost Bin
Follow these easy steps to make your in-ground compost bin:
- Choose the location. The logical place for this kind of bin is somewhere that’s easily accessible from your kitchen. Try to use a well-drained spot, but if drainage might be a problem, you can dig the hole slightly deeper and add a layer of sand before inserting the bin.
- Get your hands on a trash can with a tight-fitting lid. (a 30-gallon can like this is ideal – Amazon link)
- Drill or punch several holes (quarter-inch diameter) in the bottom and the sides of the can. Only make holes in the bottom part of the container. Make holes at least 15 inches high. The higher you go, the deeper the hole!
- Use your bin as a guide to trace the size and diameter of the hole you need to dig.
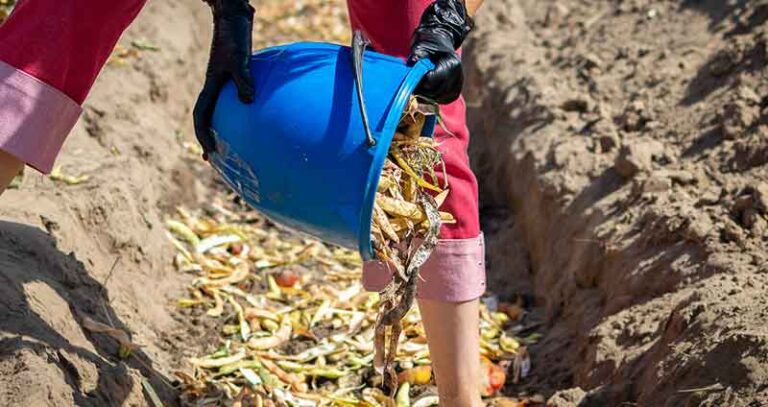
- Drop the bin into the hole as you dig to estimate the depth. Make it at least 15 inches deep.
- Place your bin in the hole and fill any gaps around the edges so it’s nice and snug.
- Add a layer of dry material to help drainage before adding your first food scraps. Shredded wood chips or straw are suitable for this. You can also shovel some soil into the bottom of the can (this helps add microorganisms to inoculate the first ingredients you will add.
Stand back and admire your handiwork!
Your underground compost bin is now ready for recycling your food waste. However, suppose you want a continuous production of compost. In that case, I recommend you add two bins side by side so you can rotate from one to the other while the first batch is maturing.
How to use underground composters
Now you’ve got somewhere to throw your food scraps!
Here are some tips on how to use and get the most out of your new in-ground composting system: (includes Amazon links)
- Store scraps in a container like this freezer collector or a countertop caddy until you’re ready to take them out for composting. Line the inside of the kitchen bin with some old newspaper to stop things from sticking to the interior. These mini-bins help reduce odors and problematic fruit flies in your compost.
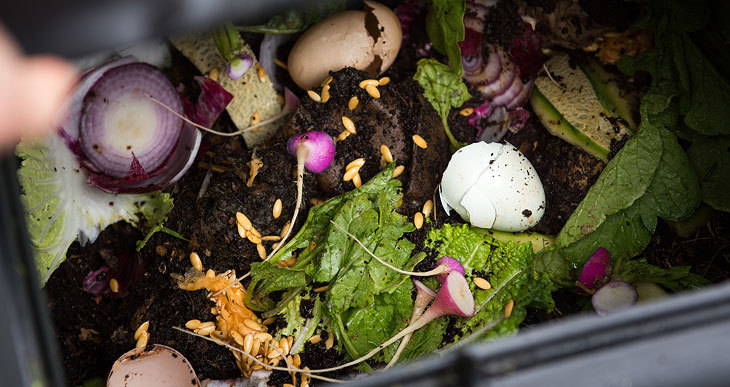
- Add food scraps and top each layer with chopped leaves or shredded newspaper. Fruit and vegetable scraps are a great source of nitrogen and add a lot of water to compost. They need to be balanced with dryer carbon materials, or your compost can turn anaerobic.
- If your new compost bin starts to smell or attract flies, add a layer of shredded dry leaves, shredded paper, or clean straw. You can also throw in some soil which will act as a biofilter to help reduce smells.
- Underground composters need aerating like any other aerobic system. The confined space makes this tricky, but an aerating tool like this does a good job.
- Don’t forget to fix the lid securely onto the bin each time to avoid attracting critters and foraging animals. You can use a trash can lock is your lid doesn’t fit well.
Summary
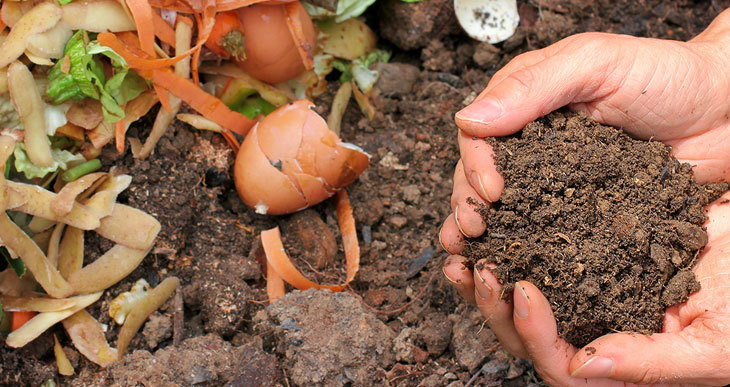
Underground composters are one of the best ways to recycle kitchen waste. They are relatively low maintenance and produce excellent rich compost pretty quickly!
What more can you ask!