In Ground Compost (Easy Composting for the Busy Gardener)

For some gardeners, maintaining compost just seems like a lot of work.
Balancing greens and browns. Getting the moisture level just right. Regularly turning over the compost. Pfew!
But you’ll be glad to know there’s an easier way!
In-ground composting is perhaps one of the simplest ways to make compost.
From burying food scraps in your garden to burying your whole compost bin underground, there are plenty of fuss-free in-ground composting methods for you to choose from.
I’ll help you figure out which method is right for you.
What Is In-Ground Composting?
In-ground composting can be anaerobic (without oxygen) or aerobic (with oxygen), depending on the method chosen. It involves burying organic waste underground to decompose either directly in the soil or in a container.
When you bury waste directly in the soil, this establishes an anaerobic environment. Microorganisms that don’t need oxygen to live break down the wastes via fermentation. This in-ground composting technique creates an acidic environment, which aids decomposition.
Waste can also be composted using a partially submerged in-ground container. This method is generally aerobic and presents several advantages. It’s probably the fastest of the two in-ground composting systems.
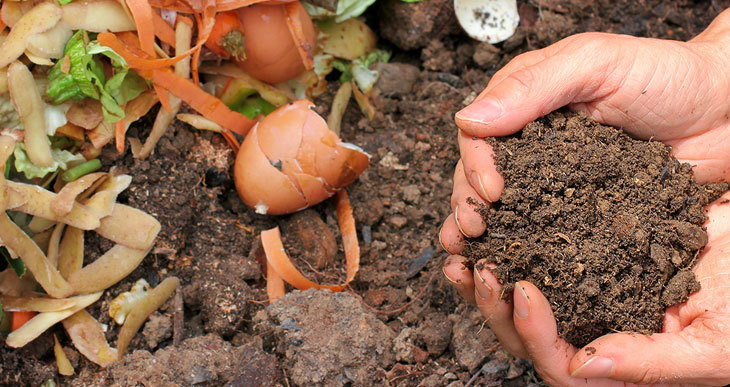
So, in-ground composting is a zero-stress, earthy-friendly way to get rid of your kitchen scraps and garden wastes while enriching the soil.
Let’s explore the benefits and different types of in-ground composting. Come on, dig in!
Advantages Of In Ground Composting
What makes in-ground compositing stand out from the other composting methods is that it needs very little maintenance.
Using the anaerobic method, at the start, you’ll need to put in some effort to dig and fill the hole, but then you’re done. No turning or checking moisture levels are required.
And a buried bin is straightforward to use and only requires a small amount of maintenance.
Besides being more leisurely than other methods, in-ground composting is also a superb option if you only produce a small amount of kitchen waste for recycling by mother nature.
How To Make In Ground Compost
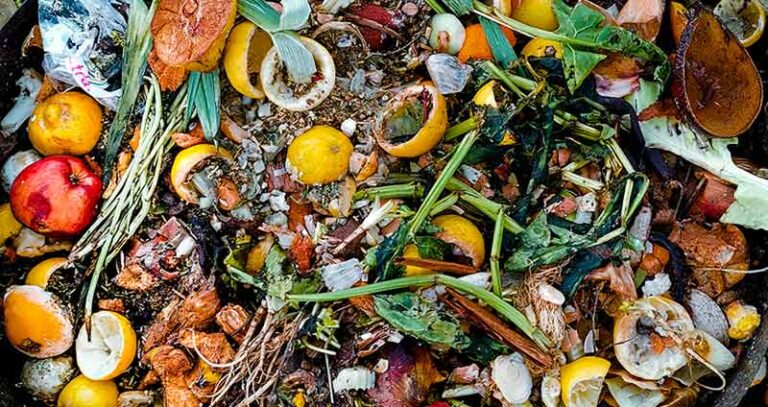
There are several ways to make in-ground compost. Some methods involve simply burying food scraps. This can be done randomly or methodically. Another way is to use containers to hold the organic waste.
You can tweak the in-ground method to make it work for you and your lifestyle. Let’s have a look at some of your options:
Types Of In Ground Composting Systems
There are three main in-ground composting systems:
- An in-ground compost bin.
- Trench or pit composting method.
- Dig and drop composting.
All three methods effectively do the same thing – decompose organic wastes underground – but in different ways.
Can You Bury A Compost Bin?
You can go ahead and bury your compost bin along with its contents. This is the in-ground compost bin method. Although you will probably need to adapt your bin to get the most out of this system.
In Ground Compost Bin
Heard of sunken or buried trash can composting? That’s another name for the in-ground compost bin method, which involves partially burying your compost bin underground.
Bury your compost bin… but why? Well, you’ll help the bin hold on to heat because the surrounding soil acts as insulation. Also, the contents are protected from pests. And the best part is you give easy access to composting microorganisms, insects, and worms in the soil.
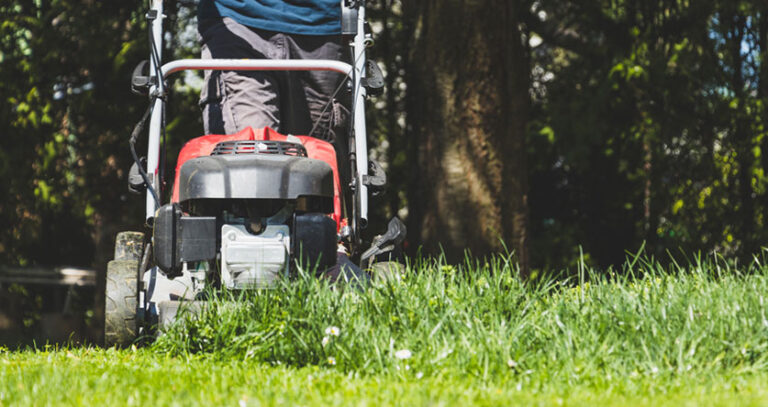
All these advantages make in-ground bins an effective method for small amounts of organic waste. But it is less suited to large quantities of yard trimmings.
Suppose you don’t have much garden waste but accumulate a decent amount of kitchen scraps. Then, the in-ground compost bin might be your dream composting method.
How Do You Use An In Ground Compost Bin?
Start your in-ground composting project by making your bin. Most people use an old drum, barrel, or trash can.
You can read my tutorial on how to build an in-ground compost bin here…
Here are some tips on how to use in-ground compost containers:
- Start by adding dry materials such as wood chips, shredded twigs, or straw in the base. This will improve drainage.
- Food straps are very wet, and the compost can become anaerobic. To prevent this, in-ground composters need aeration like any other bin type.
- Keep a stockpile of dry leaves or shredded cardboard nearby. Each time you add fresh kitchen scraps, add a few handfuls to balance the wet and dry components.
- If the bin starts to smell, then try turning the compost. The most convenient tool in the confined space of an in-ground container is a compost aerator like this.
- If you have hungry critters in your neighborhood, they might be attracted to the rotting food. Fix the lid down securely with an elastic bungee cord.
I keep my kitchen scraps in a countertop caddy until I’m ready to take them out to the bin. Some models like this one include a special charcoal filter to avoid bad smells. (Amazon)
Your food scraps should decompose in about a year. If the compost is still wet and smelly after this time, mix it with soil and spread it out on the ground. Let it air for about a month, or till it smells sweet and earthy and feels crumbly.
If you don’t want to make your own in-ground composter, you could try a Subpod. The subpod is an excellent way to get started and easily compost your food scraps. It’s a proven system that is low maintenance and odor-free! Submerged compost bins like this are one of the fastest ways to produce compost.
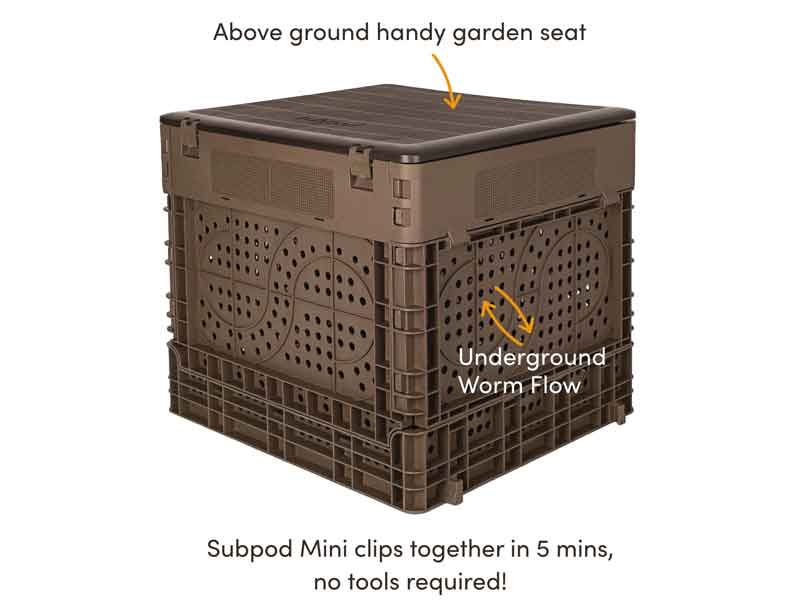
Find out more about the subpod in-ground system here…
Can You Make Compost In A Hole In The Ground?
Making compost in a hole in the ground is an effective and easy method called trench or pit composting. However, there are a few caveats to using this system that you need to know about.
Trench Composting
There are different ways to do in-ground composting, but there are also twists on trench composting. In addition, some methods are more straightforward than others.
Whichever method you find most attractive, keep these pointers in mind:
- Dig your trench in the location you want to enrich the soil.
- How wide and long you make your hole is up to you, just as long as you make it deep enough to let you cover your organic wastes with at least 6 inches of dirt (10 to 20 inches should do it).
- Set aside the soil as you dig, so you can replace it after you’ve dumped your wastes.
- After you’ve covered up your trench, let the organic wastes decompose for a few months before you plant on top of them.
This last tip is important because when fresh organic waste decomposes, it uses up any nitrogen in the soil, making it unavailable to plants (known as nutrient lockout). And rotting anaerobic waste can also harbor pathogens that can be transferred to food crops. Trench composting is anaerobic, so decomposition takes longer than oxygenated compost solutions. The composted ingredients need time to mature before planting crops on top.
The three most popular ways to apply trench composting are:
- Make a trench wherever you have space.
- Trench between planting beds.
- The rotation trench method.
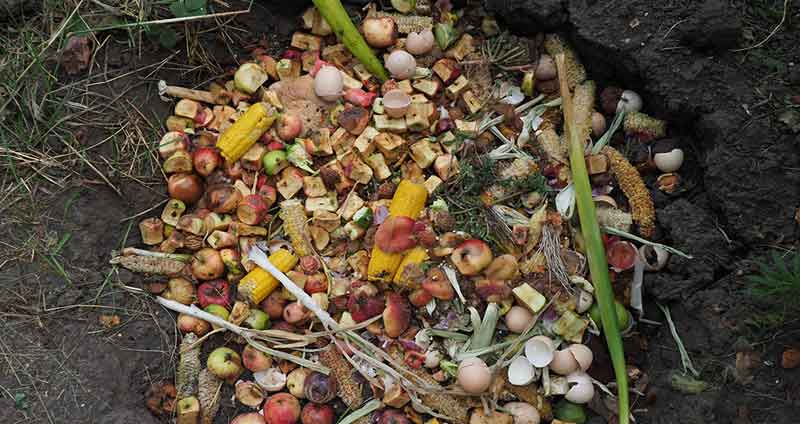
The first is the simplest way. Find an empty area in your garden, dig a 12-inch-deep (or thereabouts) hole, throw in about 4 to 6 inches of kitchen scraps and garden wastes, and fill the hole with the soil you dug earlier. Remember: You decide how wide and long to make your hole; the more wastes to bury, the bigger the hole should be.
If you’re growing annuals or veggies in evenly spaced rows, why not make the most of the spaces between the rows? This is the perfect spot for trenching! Dig your holes in the in-between spaces, drop in your organic wastes, cover with soil, and you’ve got yourself a multitasking garden zone.
The rotation method takes the most planning of the three popular trenching styles. Rotation trenching involves dividing your empty garden space into three equal sections:
- one for trenching,
- another for a pathway,
- and the last for planting annuals.
You then rotate the sections every year. After three years, compost goodness will have nourished the entire area!
Trench composting is for you if you’ve got lots of kitchen and garden waste and plenty of space for burying.
Can I Just Bury Food Scraps In My Garden?
Fancy the idea of digging small holes to bury your food scraps? Then you’ll love “dig and drop composting.”
Dig And Drop Compost
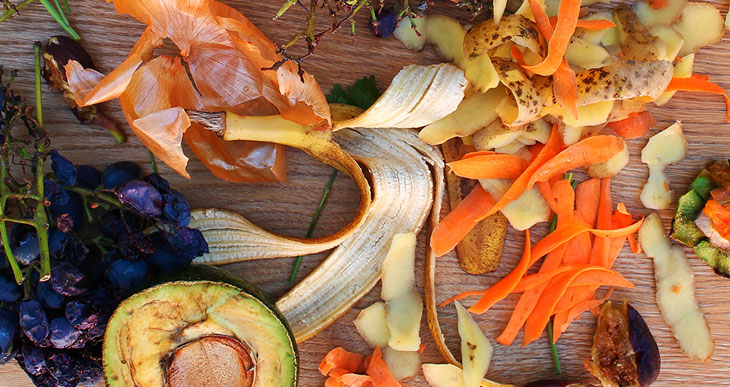
I saved the most effortless of all in-ground composting methods for last. With dig and drop composting, you dig a hole (at least 12 inches deep), pop your food scraps inside, then cover up the hole with soil.
Every time you have food scraps to bury, dig a new hole in a different place. To cut down the number of holes to dig, collect your food scraps in a small bucket or tub and bury them only once the container is full.
Tip: Use markers to help you track where you’ve buried the organic wastes so you don’t unearth them every time you’ve got more to bury.
Dig and drop is your go-to trenching style if you have little bits of kitchen waste to compost. This method is also best for small gardens.
How Long Does In Ground Composting Take?
Organic wastes composted underground generally take a year to decompose.
Though, how quickly the organic wastes break down depends on:
- The nature of the wastes (for example, tough parts of plants like stems take longer to break down than leaves),
- The soil temperature (hotter conditions mean speedier results),
- And just how powerful the team of composting microorganisms and insects is.
In-ground composting happens without oxygen (anaerobic), which is slower than composting with air (aerobic). Because anaerobic compost is starved of oxygen, it can’t heat up to the very high temperatures that break down organic wastes fast. (Read more about how long it takes to make compost with aerobic methods).