How to Compost Without a Bin (You Can Do This Instead)
Compost bins don’t always suit everybody’s needs. For example, a traditional compost bin can be complicated for people with limited space. Or perhaps you just don’t want the expense of buying a bin right now.
Bins do have some advantages, but they are not the only way to make nutrient-rich compost.
In this article, I’ll explain some simple methods you can use to make compost without a bin.
You’ll wonder what you’ve “bin” waiting for 🙂
Composting without a bin
If you want to keep things simple, you can begin composting with very little equipment and no bin. Decomposition is a natural process that will happen with or without a container.
Bins were designed to make the rotting process more efficient, simple to use, and generally more pleasant!
They look good, keep things neat, require very little hands-on work, and they help prevent some nuisances like smells, flies, and other pests.
But if you don’t particularly care about how it looks, and you don’t mind a few critters, you can absolutely get the benefits of compost without a classic “bin.”
Can you compost without a bin?
Yes, composting is possible without a conventional bin. However, various methods exist to make compost without a specially designed container.
The most common replacement for a compost bin is a pile (also referred to as a heap).
As you can guess, this involves stacking organic matter in a “pile” and letting the ingredients mature.
But you still have to apply certain composting fundamentals and know-how to get the best results…
And it can involve a bit more work to get the decomposition process working.
This is less the case with a bin, which can be used as a “chuck it in and leave it” method.
Do I need a bin to compost?
Whether or not you need a bin depends on your requirements and expectations. Composting is possible without a container, but you should carefully consider your situation before choosing.
For example:
- Do you want your compost near the house?
- Are you bothered about how it looks?
- Do you only have a small amount of material to compost?
- Do you want to reduce nuisances like flies and vermin?
Suppose you answered yes to any of these. In that case, it’s possible you actually need to use a compost bin, or some other contained compost system, like a tumbler.
Still here?
Ok… If you’re determined not to have a bin, let’s have a look at some of the things you can do to enjoy composting without one!
What can I use instead of a compost bin?
Many different methods exist to make compost with no bin. The only limit is your imagination. But you must consider some basic rules of composting before you begin.
There’s an extensive range of composting systems to choose from. Some of them are homemade, and a few more complex commercial products exist too.
But suppose you’re not interested in a standard bin. In that case, I assume you’re not interested in sophisticated or other similar systems either.
So in the following lines, I’ll explain some very basic opportunities to make compost with a limited amount of bother and expense.
How to compost at home without a bin
Gardeners have developed some simple methods of composting without using a bin. You can choose to make a simple compost pile or use everyday equipment from around your house and yard to create a basic composting system.
Remember…
Bins exist to make the process more user-friendly. But by applying some composting basics, you can devise a method for producing compost without making things too complicated.
Here are a few ideas:
Compost bin alternatives
Some no bin composting options:
- A compost pile
- Use trash can composting
- Bag composting
- Trench composting
The process involved for each of these alternatives is slightly different.
Let’s have a look at each of these in more detail.
Compost pile (heap)

To make a compost pile, you should choose a discreet location in your backyard.
This type of composting is best suited to people who have some space. Once you’ve created your compost heap, you probably won’t be moving it around, so choose carefully.
A place that receives some sunlight during the day can help keep the pile warm. You can pile things up directly on the ground. And ideally, it should be a well-drained spot to avoid waterlogging after heavy rainfall.
Avoid, for example, placing it near your home. Piles can attract unwelcome guests like flies or rodents. Probably not the kind of thing you want near your kitchen!
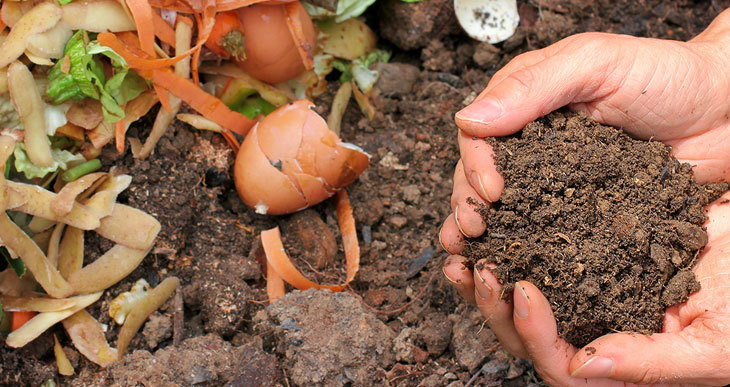
Organic materials will eventually turn into compost if you leave them alone. Just pile things up and let it rot!
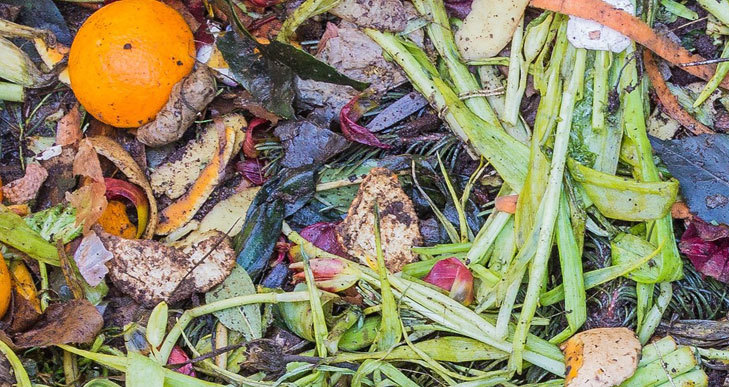
As a general rule, you should add one part of brown material (for example, dry leaves) to three parts of green matter (grass clippings or fresh yard trimmings).
This is known as “cold composting” because the microorganisms that do the job of decomposition won’t heat up very much.
It is also a slightly longer process to achieve finished compost.
If you’re feeling more adventurous, you can try to make a hot compost pile.
This is a more involved process. For a start, you need a good volume of material. Aim for at least 4 or 5 feet wide by 3 feet high. Smaller piles simply won’t get “hot.”
It also involves better management, so you’ll need to turn the pile regularly and keep an eye on things like moisture levels and aeration.
Read this article for a more in-depth comparison of piles and bins.
Trash can composting

This method involves using what many of us have readily available – a simple trash can.
A black plastic one with a lid is a good choice (the black color will warm up the contents better if you place it in sunlight). And you might also get better results with a larger bin.
A 32-gallon trash can with a lid like this one is a good choice.
The only alteration you need to make is to drill a few holes in the base and the sides of the can. Compost needs oxygen, so the holes will help create some airflow.
Try to balance the mix of brown materials and green stuff to make the composting process work better. Too many “green” vegetable scraps, and you could end up with a slimy mess. And too many dry “brown” materials, and it will take years to rot!
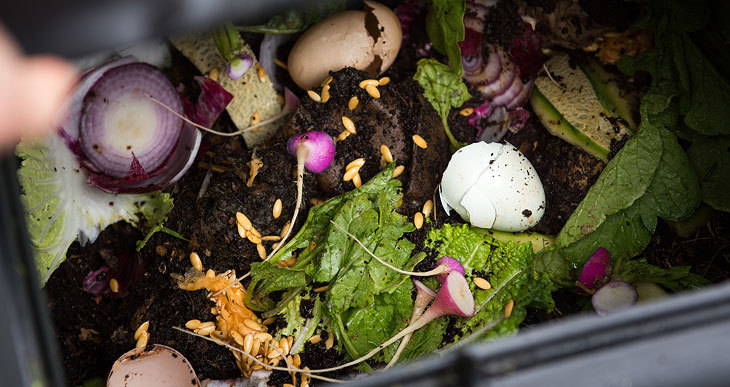
Layer the green material, then place a layer of brown matter on top. Notably, if you’re composting kitchen scraps, place something dry on top to reduce unpleasant smells when opening the can.
If you’re worried about vermin trying to eat your kitchen waste, use a simple trash can lid lock like this (Amazon).
Once your trash can is full, leave it to decompose. If you’re keen enough, you could also open it up every couple of weeks and turn the contents with a pitchfork. And maybe keep an eye on the moisture content of your compost (it should have the humidity of a rung-out sponge).
The advantage of this method is that it’s pretty cheap.
One downfall is that you can fill your bin up pretty quickly, and you’ll need some more.
Bag composting

What makes bag composting different is that it’s primarily anaerobic (not exposed to oxygen). This is different from making a pile or using a trash can which are both aerobic methods.
The disadvantage of this method is the smell. Anaerobic composting involves different kinds of microbes, which can produce foul odors. And these microorganisms take longer to decompose organic matter.
But if you don’t mind the smell and you’re prepared to wait, you will end up with decent compost in the end.
Strong black garbage bags are probably the best. Like with black trash cans, the black color absorbs solar energy and heats up the contents, improving the decomposition process.
For a more solid solution, use something like this rip-resistant composting bag.
This system’s benefits are the small space requirements. In addition, it is very self-contained (in other words, you don’t get any leaching of liquids from the rotting materials).
Once the bag is full, leave it for 6 to 12 months. A basement or garage is a good location.
But don’t leave them outside in cold conditions. They won’t compost!
Trench Composting

At its most basic level, trench composting involves burying your garbage in the ground and letting it rot!
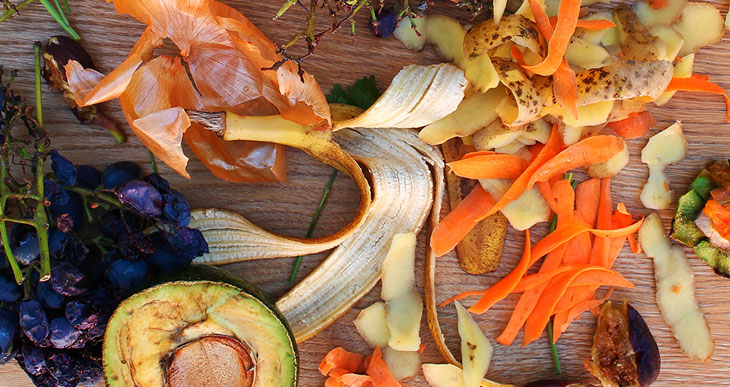
This could be vegetable scraps or other garden refuse.
It has some practical limitations. Size is perhaps the most obvious unless you want to dig huge holes in your yard!
“Pit composting” uses the same method, but the name just refers to the type of hole you’re going to dig.
Make a pit or a long trench about 12 inches deep to compost like this. Fill it with about 6 inches of waste, then cover it up. Wait for at least six months to one year for the compost to rot.
Afterward, you can either dig it up to use elsewhere or plant something directly on top.
Use something to mark the location.
It’s important to remember the location where you buried your waste. This is because trench composting is an anaerobic process that takes a certain amount of time. If you plant your vegetables on top too soon, there’s a risk of contamination by parasites. Learn how to use compost on vegetables in this article…
If you have quite a lot of waste, this procedure can be done systematically.
Make several trenches and fill them on a crop rotation method. Then, leave new trenches to decompose for one or two years while you plant crops in already matured locations.
So Is it worth having a compost bin after all?
If you have a small garden and want to avoid smells and other pests, a compost bin is worth it. This is also a good option if you only have a small amount of waste and are looking for a low labor-intensive method.
All things considered, bins can be an attractive home composting option.
But consider some of the benefits and disadvantages of the alternative methods to decide whether it’s worthwhile to have a compost bin.
If none of the ideas above seem appealing, you could always try making your own or look for a cost-effective commercial bin.
How to make a cheap compost bin
Suppose you want the advantages of a neatly contained commercial compost bin without the expense. In that case, you can make one very cheaply.
All you need is some plastic mesh or chicken wire and maybe a few stakes to secure it in place.
The way to do this is to build an open drum shape. About 3 feet high and three feet wide will provide a decent volume.
To make this:
- Find some three-foot-high mesh or chicken wire and cut a 10-foot length.
- Form a drum shape – You should have enough length for about a six-inch overlap.
- Fasten the ends together with zip ties.
- Be careful not to snag yourself on the wire.
To harvest your compost or for occasional turning, simply lift the wire drum off!
Inexpensive Compost Bin
Suppose you like the advantages of compost bins but don’t want the expense. In that case, there are several easy-to-use and inexpensive options to choose from. This is also a good option if you’re not very skillful at making things.
Go for something similar to the mesh or wire system described above (see this highly favored cheap example on Amazon). The open side will help with aeration, and the container will keep everything neatly in place.
It can have an open base. Like this, it will act like a contained compost pile. Having an open floor lets the worms and other organisms in the soil reach your composting materials and help the process move along.
To locate your bin, use the same guidelines for making a pile.
Final thoughts
Whatever your choice of composting system, it doesn’t have to be complicated. Every situation has a compatible option that will suit almost anybody’s needs.